6 steps to competition turnout perfection
May 30th 2024

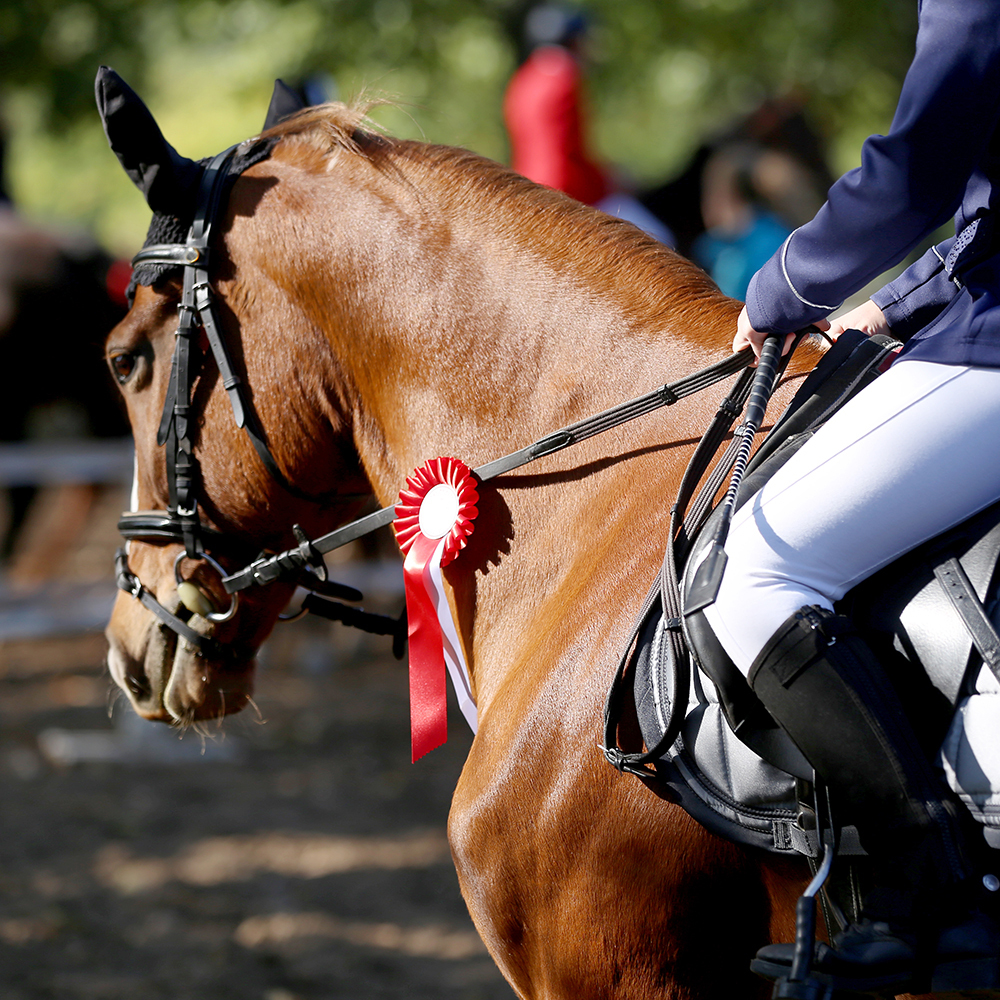
With competition season, it becomes paramount to elevate your performance to the highest level. Follow our six steps to achieve competition turnout perfection. When your horse enters the ring looking impeccable, it not only enhances your overall appearance but also lays the groundwork for improved riding performance. The connection between looking good and feeling confident is undeniable, contributing to an enhanced sense of self-assurance.
For us, turning our horses out to the highest possible standard, whether it’s for a championship competition or an unaffiliated dressage test down the road, is pretty much as important as the training that goes into getting you to the competition in the first place. These invaluable tips not only ensure your horse looks the part but also stands out from the crowd. The initial four steps can be completed beforehand, while the last two, steps five and six, should be executed when you're at your show, adding that final touch to showcase your horse at its best.
1. Bath
Start off by giving your horse a good old-fashioned bath. Read our guide 5 steps to successfully bathe your horse. Try to avoid washing your horse’s mane immediately before you want to plait, as you want some natural grease to help create perfect plaits. However, if you can’t avoid washing the main prior to plaiting, make sure not to put any conditioner or detangler spray on. If you do not need to plait give the main a good scrub right down to the roots.
2. Groom
Once your horse is dry, use a body brush and a metal curry comb to give him a good groom. Once brushed and combed, use either a stable rubber all over his body to help flick away unwanted dust or hot cloth off. This should also help create a good shine and lay the coat down.
3. Mane
Depending on your breed of horse and what discipline you are doing will depend on the type of plait you require. We suggest researching this first.
Standard Ball Plait:
- Ensure you mane is prepped to plait beforehand by being thinned and trimmed.
- Make sure your horse’s mane is tangle and knot free.
- Using a slightly damp sponge, wet your horse’s mane.
- Section your plaits off using a mane comb, ensuring each section is of equal amounts of hair. Also, try to make sure that each ‘parting’ between plaits is in a straight vertical line – this will help the overall appearance.
- Apply some plaiting spray or hair gel this will help you grip the hair and create a smooth plait.
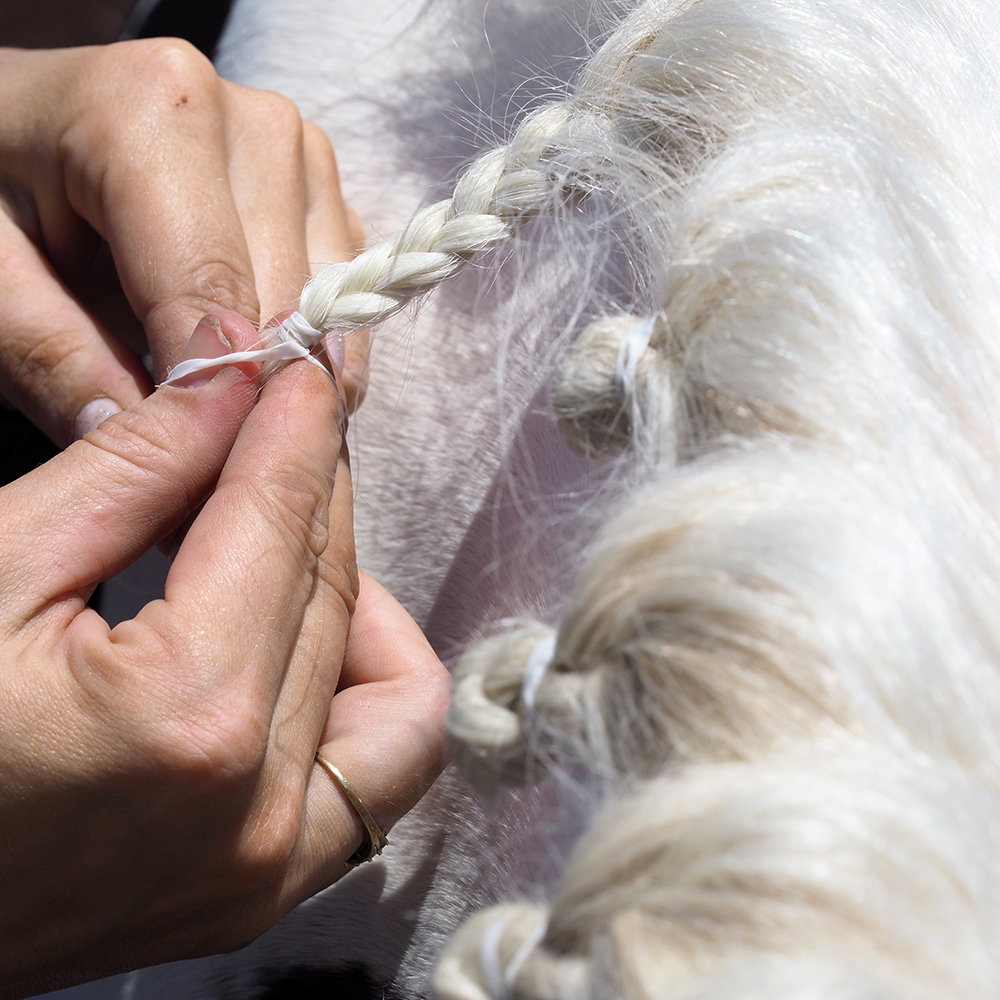
- Now plait each section down, keeping the sections nice and tight, then use a band to secure the end.
- Next, you will need to roll the ends of the plait up underneath to create a ball shape. Then secure with either a rubber band or a needle and thread if you are familiar with this method.
If you have a horse with a traditional mane and you are not plaiting for your competition divide the mane up into sections and plait each one. This will create a wavy texture in your horse’s mane and help keep it tidy before your event.
4. Tail
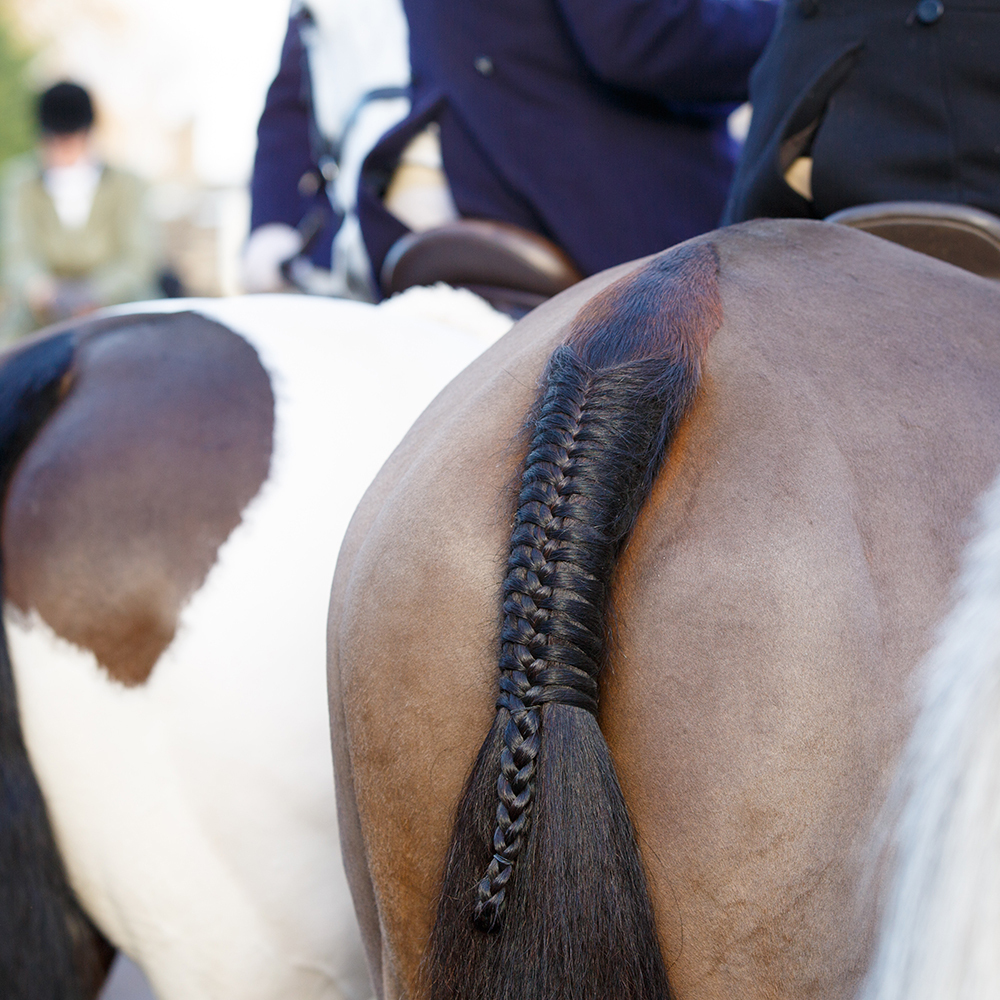
Apply mane and tail conditioner to the tail of your horse and brush through, but don’t apply to the top of the tail if you are plating it as this will make it virtually impossible. Depending on how you like the length of your horse’s tail, give it a trim with some scissors so that the end is nice and square. We would suggest halfway between the horse’s hind fetlock and hock. But again, this is all dependant on breed and discipline. If you haven't done this before bathing, it's also the opportune moment to tidy up your horse's dock area, especially if it has a 'pulled tail.' You can refine the appearance using a thinning rake and comb. When plaiting the tail, opt for the French braid method if needed.
French Braid:
- Wet the top of the tail and apply plaiting spray to help you grip.
- Pick up a small section of hair at the very top each side of the dock and cross over.
- Pick up another small section of hair from one side, add to the middle to help create your three sections.
- Cross over and keep adding a small section from each side alternating and crossing. (Once you get to 2/3’s down the dock, stop adding sections from the side and plait down.)
- Secure with a band and then fold back and tuck the end up under the braid.
- Halfway down the plaited loop use another band to secure. (If you like, plait the tail downwards from the dock and leave until just before you get on your horse at the show – this will create a nice ‘wavy’ effect.)
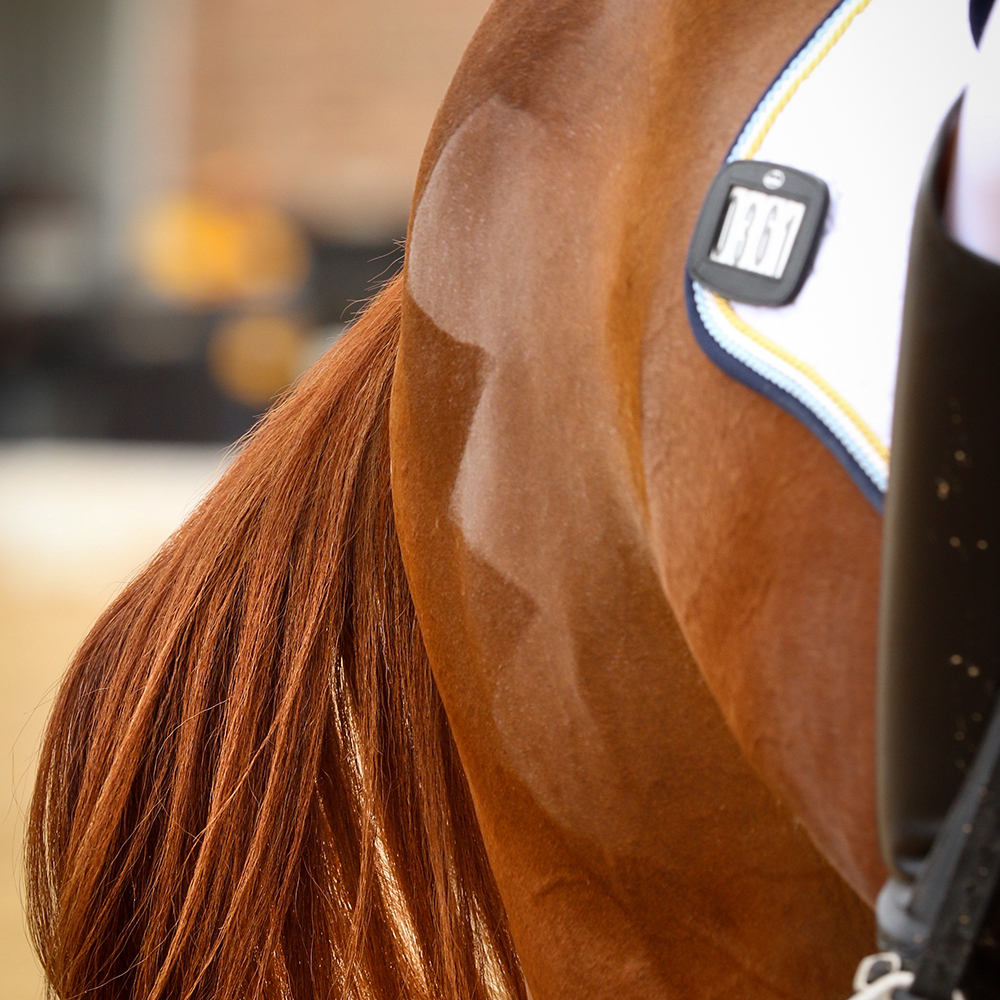
5. Quarter-marks
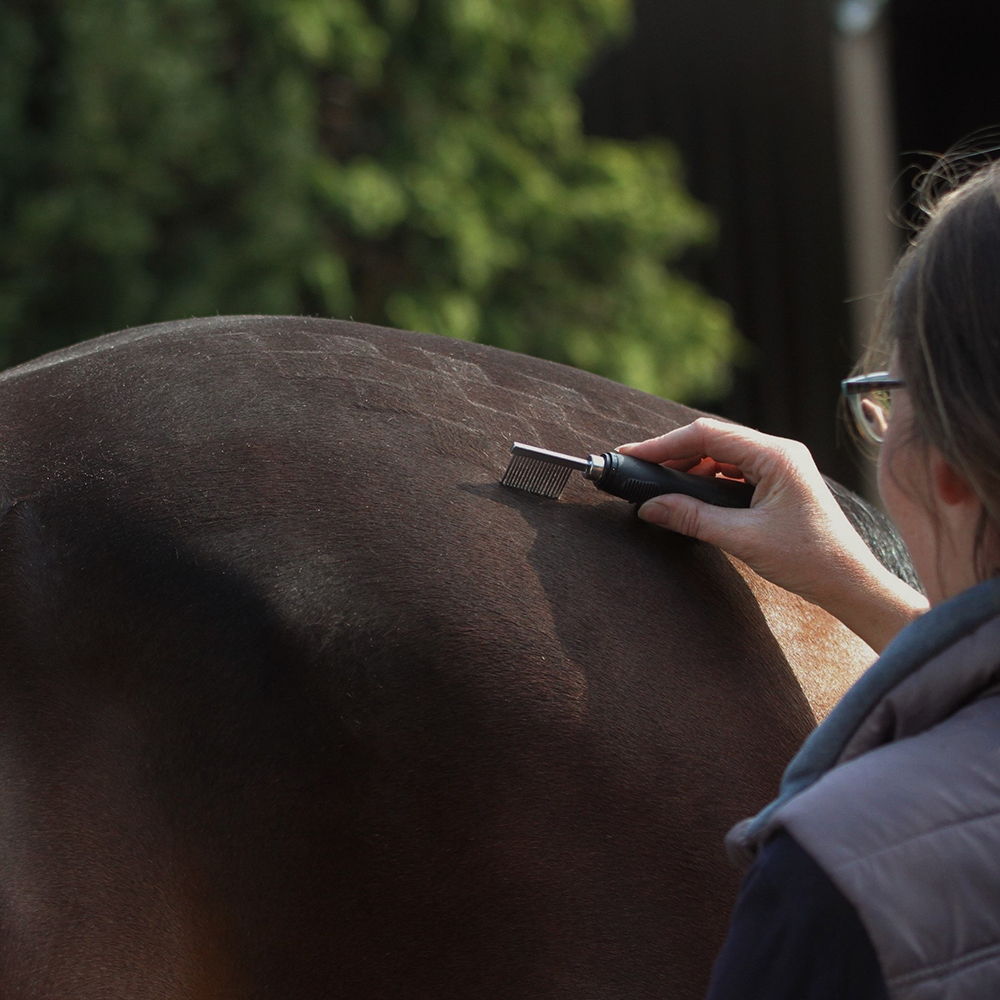
You can create various quarter marks by either using a stencil or going free-hand with a brush or quarter mark comb . We are going to talk you through going free hand.
Hunter Horse Quarter Marks
- Dampen a tightly bristled body brush with water and wet the area you are planning to mark.
- Locate the croup area and create a vertical line by simply swiping the brush downwards from spine towards the top of the horse’s hind leg.
- Move over by an inch and repeat. Most horses look fine with three evenly spaced swipes.
Don’t worry about the ‘end’ of the stripe, as you will make one swipe at the end with the brush with the hair growth, so the ends of the stripe are clean and uniform.
V-shape Checkerboard-style Horse Quarter Marks
Top tip: As the checkerboard-style is a smaller design it is worth using a quarter marking spray to help produce a more defined mark.
- Start by brushing and grooming the horse's coat thoroughly to ensure a clean canvas.
- Locate the croup area and using a soft brush or comb, comb down a small square then leave a gap the same size as the combed portion. Keep repeating to create the checkerboard effect in the shape of a triangle.
Sharks Tooth Pattern Quarter Marks
- At the top of the horse’s hind leg, swipe a stripe from above the stifle to the top of his tail.
- Your second swipe will be from around the hip, to the bottom of the hamstring; this makes a sideways V (your first shark tooth).
- Now swipe just below your first upwards swipe, following its line. Then swipe in the downwards motion, mimicking your first downward line, to create your second tooth.
The above may sound complicated but, the good thing is, if you mess up you can just brush over and start again. Practice makes perfect!
6. Finishing touches
Final touchers count. Give the hooves a lick of hoof oil and if you want to go all-out, carefully apply baby oil or highlighter gloss to the muzzle and around the eyes to make every inch of them shine.
Of course, some turnout requirements will vary depending on the discipline you are competing in, especially if you are showing, so it’s worth checking beforehand.
And there you have it, 6 easy steps to competition turnout perfection. We would love to see you and your horse in action, be sure to tag us in your photos and stories with us on our Instagram page!


